Supplies
- Sturdy, non-plastic fabrics that are washable, and preferably pre-washed.
- String, woven tape or soft rope for the neck tie and waist tie.
- Sewing supplies: needle, thread, pins and scissors for handsewing, or whatever you like for machine sewing.
Process
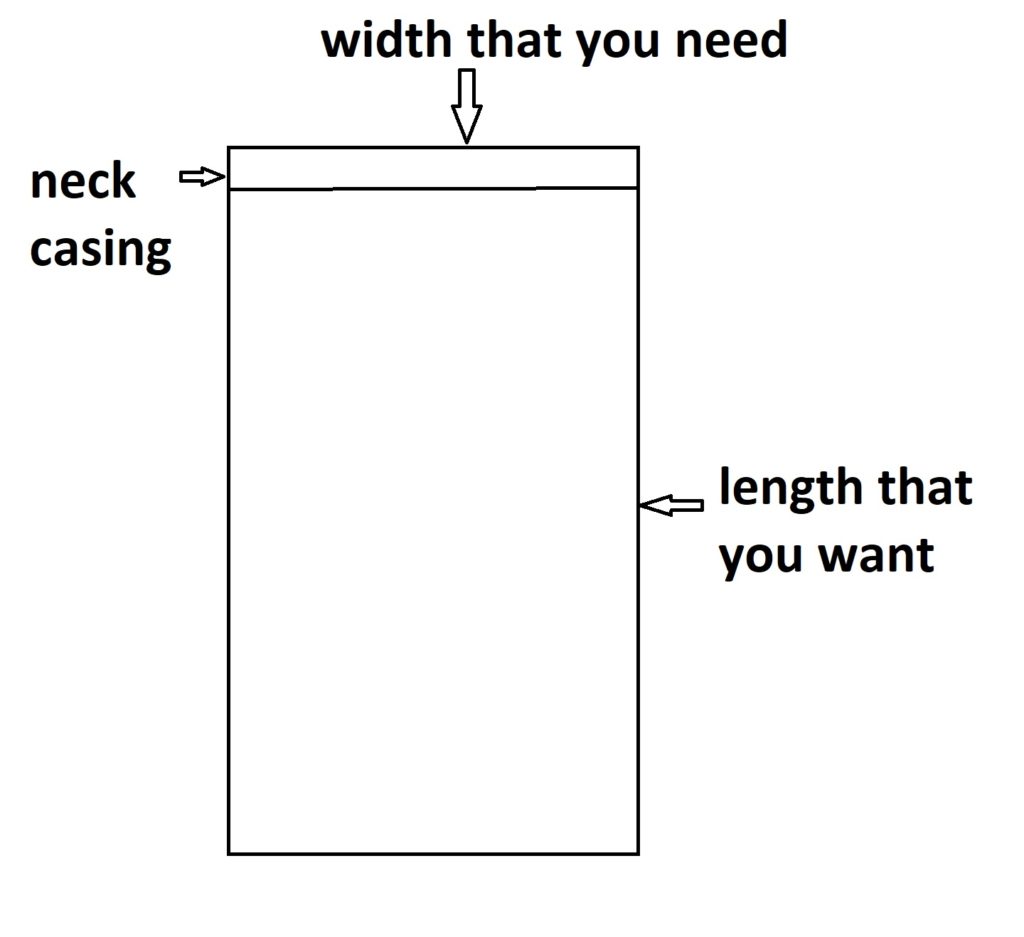
- Measure your body. I use the width from side seam to side seam on my body, across my hips, for my measurement. If you have a particularly large bosom or stomach you should measure across there to make sure that your apron is wide enough to provide real protection for your clothes. Add three or four inches to this measurement for ease and seams.
- Lay out your fabric. If you can use the fabric selvedge as the top edge, it will save you a little work, if not, you will need to finish the edges on all for sides of the fabric before you can add the casing for the neck string.
- Decide how long you want your apron to be. Where will the neckline be and where will the hem be? I like my neckline about seven inches above my bust line and my hem about knee length. Measure the distance that you have decided on and add seam allowances. I use ½ inch for the bottom rolled hem and about 1 ½ inches for the casing at the neckline. I am using the selvedge as part of the casing for the neckline string. If you are not you need to add extra room, but remember, this is NOT a precision project, the length is not super critical unless you decide that it is. We see a variety of lengths on aprons in period.
- Cut your fabric to size.
- Finish the side and bottom seams. I prefer to hand roll my seams so that the raw edge of the fabric is completely enclosed and will not fray.
- Roll the neckline edge down to create a casing. This is just a tube for the neckline string, tape, or cord to go through.
- Figure out how long your neckline string needs to be. Leave extra for tieing a bow. Better long than too short. Mine was cut 48inches long. I then finished both ends of my linen tape so that it would not fray, which made it about 47 ¼ inches long.
- Thread your tape, string, cord, or whatever through the casing at the neckline.
- Gather the fabric at the top of the apron by simply pushing it together on the string. Then tie it around you neck, placing the neckline where you want it.
- Smooth our the front of the apron; it will not be form fitting. Figure out where you want the waist tie to attach, and mark one side of the apron. Pin the waist ties where you think they should be and try on the apron again. Adjust as needed.
- Sew the waist ties in place.
- Enjoy having an apron to protect your clothing!
Documentation
I have located several illuminations that include pictures of similar aprons. These aprons sometimes went completely around the body – they have a front and a back, with a side gore for fullness. Those aprons were generally shown being worn by late 1500’s midwives in Germany and Austria. There are some illuminations which seem to show an apron with just a front. I recently found one of those showing a woman baking pies in a late 1500’s Dutch bakery. If you would like specific illumination information, please contact me at eirny@eirny.com

